
Studio Remodel, part I
Wednesday, September 18th, 2013 | by matthew mcglynn
Our recent move to a new house brought a fantastic opportunity: building a new project studio.
 The new house has a second building on the property — the “manufactured home” where the previous owners lived for a year while rebuilding the main house after a fire.
As far as I can tell, “manufactured home” is a fancy realtor word for doublewide.
Insert your favorite trailer joke here. I don’t mind.
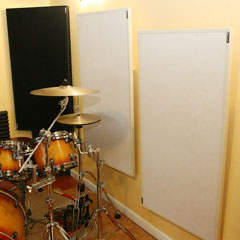
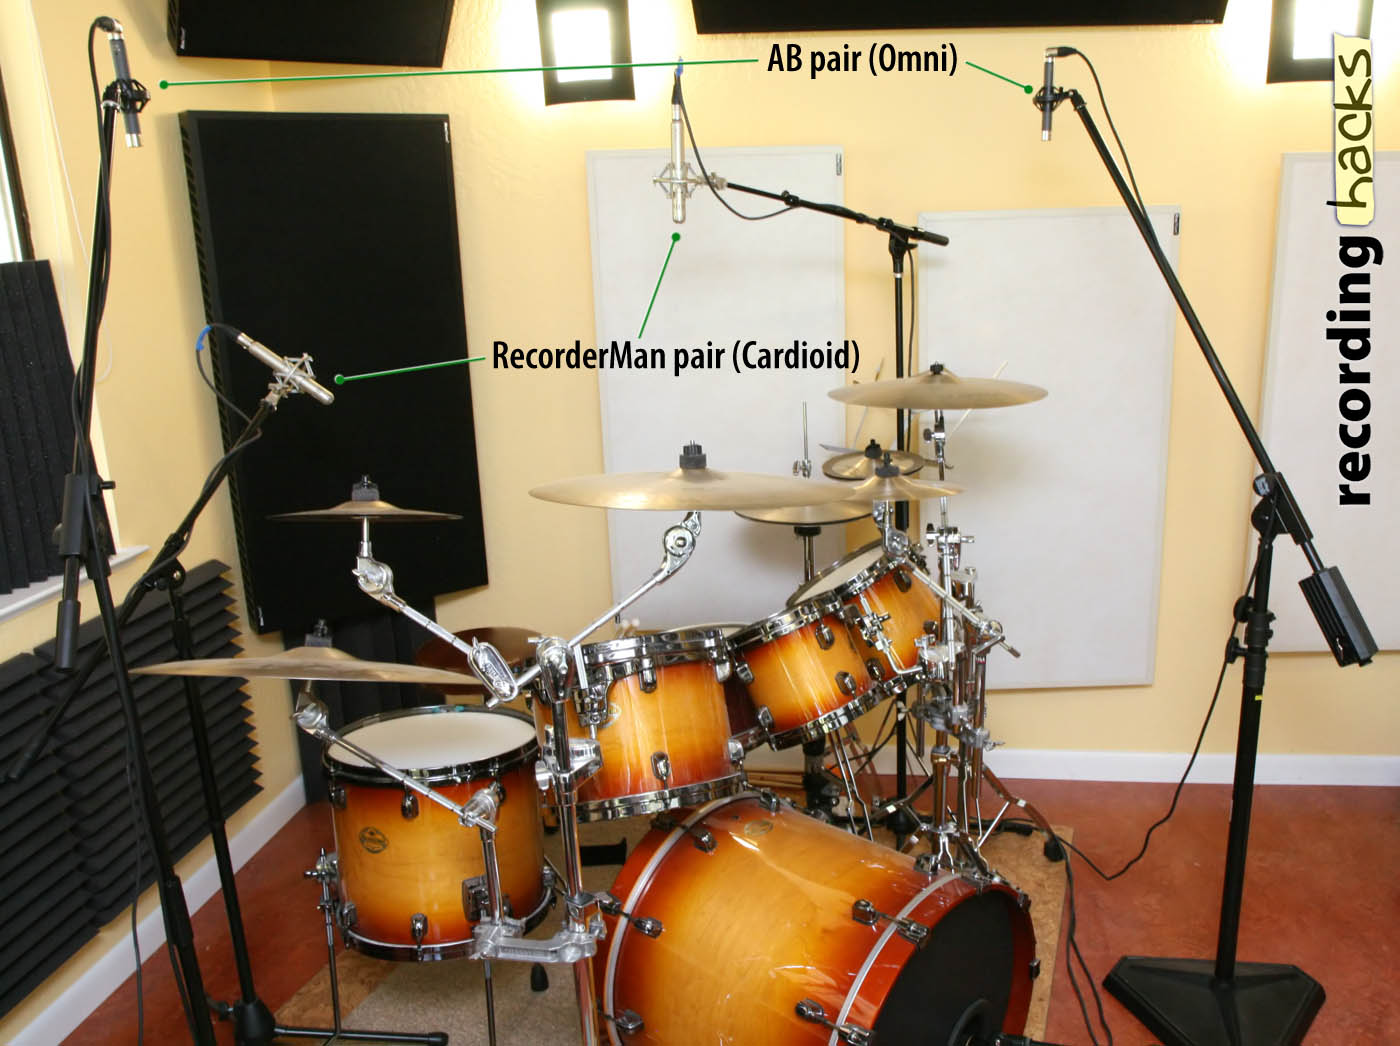 I’ve seen worse sites for a project studio. Take the tiny room I just left, for example — 12×14, with an 8-foot ceiling. I made do. With enough acoustic treatment, small rooms don’t sound too bad. (The photo at right is from a shootout of tube mics on drum overheads.)
Or take your typical residential garage, with its low ceiling and giant door that can’t be sealed. I think that would be worse.
My studio-to-be will have more space than I’m used to. The area that formerly served as living room and kitchen measures roughly 19'x19', with a sloped ceiling peaking at about 9'6''. In terms of raw space, it is a significant upgrade from my last room.
But it wasn’t pretty. Imagine 1984 vinyl floors, fake-wood paneling, floral wallpaper, and tired carpets. From a sonic perspective, the ugly wasn’t just skin-deep; the thin wall panels and questionable insulation provided scarcely more sound transmission loss than an open window.
The Neighbor Factor
This move traded land for proximity to town. That is, the neighbors are much closer than they used to be. I didn’t want my new neighbors to hate me because their china rattles in time with my kick drum. Clearly, some soundproofing was in order.
My contractor friend brought in a local acoustic consultant, Barry Grzebik, who has done “Architectural Acoustics” for Wolfgang Puck, Cirque du Soleil, and the 2001 Olympics. My studio remodel might be the smallest budget he’s worked with in 15 years.
(And, if I had to guess, my project marks the first time he’s been asked to do acoustic design for a doublewide!)
Analysing the Problem
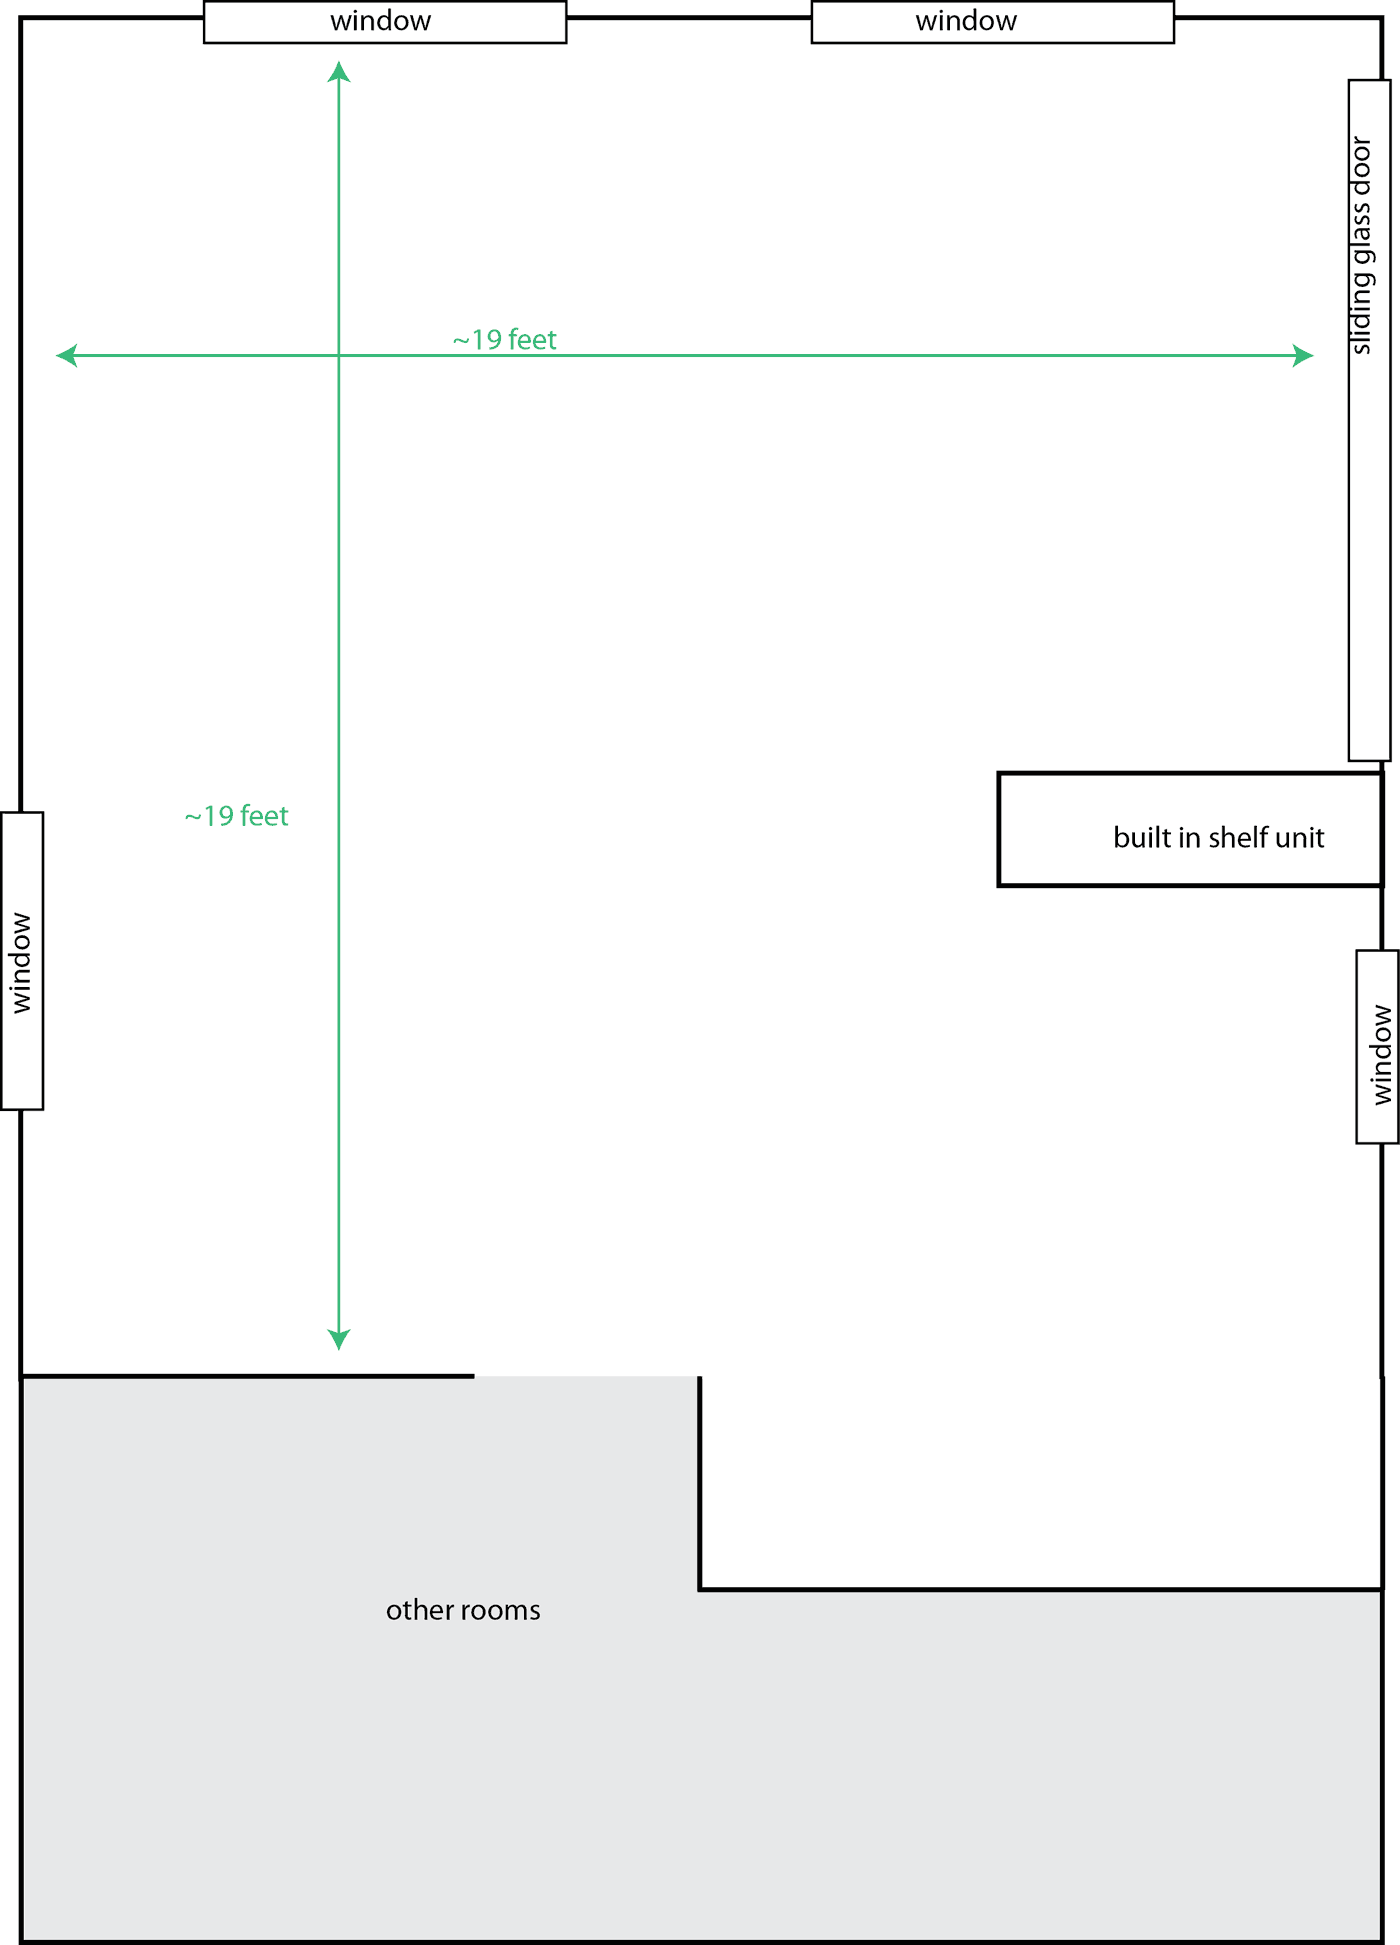 I didn’t join the diagnostic walkthrough, but the problems are obvious: thin walls, thin floor, thin ceiling, and too many windows. See the floorplan at right.
There’s no such thing as true soundproofing. Not on my budget, anyway. But we hope to cut the SPL in half, say, from the threshold of pain (130dB) to the level of typical speech (60dB). If we could get 60dB of attenuation from the structure, then by the time my drum sounds travel across the property and into the neighbors’ houses, they shouldn’t be any louder than a passing car (although a lot more groovy).
Soundproofing 101
The four most important elements of soundproofing are Absorption, Damping, Decoupling, and Mass. (Follow that link; it’s awesome.)
Our construction plan incorporates all four of these elements: multiple layers of QuietRock provide both mass and damping. Resilient channel provides decoupling. A second, freestanding interior wall provides more mass and decoupling. Insulation provides absorption. Green glue, fiber board, and a wall-to-wall rubber sheet on the floor provide all of the above.
Also, we’ll plug most of the windows, and put in stacked dual-pane windows for those that are left.
Why QuietRock?
QuietRock is a commercial brand of “soundproof drywall.” It is essentially a gypsum wallboard (aka drywall or sheetrock) with an integral layer of damping material.
We considered using two layers of standard sheetrock with Green Glue between; this would perform better than QuietRock, due both to the additional mass (nearly 2x higher) and to the superior performance of Green Glue as a damping layer. However, there was some question about whether the structure could bear all that weight. Also, the installation labor cost would have been twice as high, and the materials cost about 50% higher.
This project had a limited budget, so we went with the QuietRock approach. The results won’t be as good as they could be, but they should be good enough.
Day 1
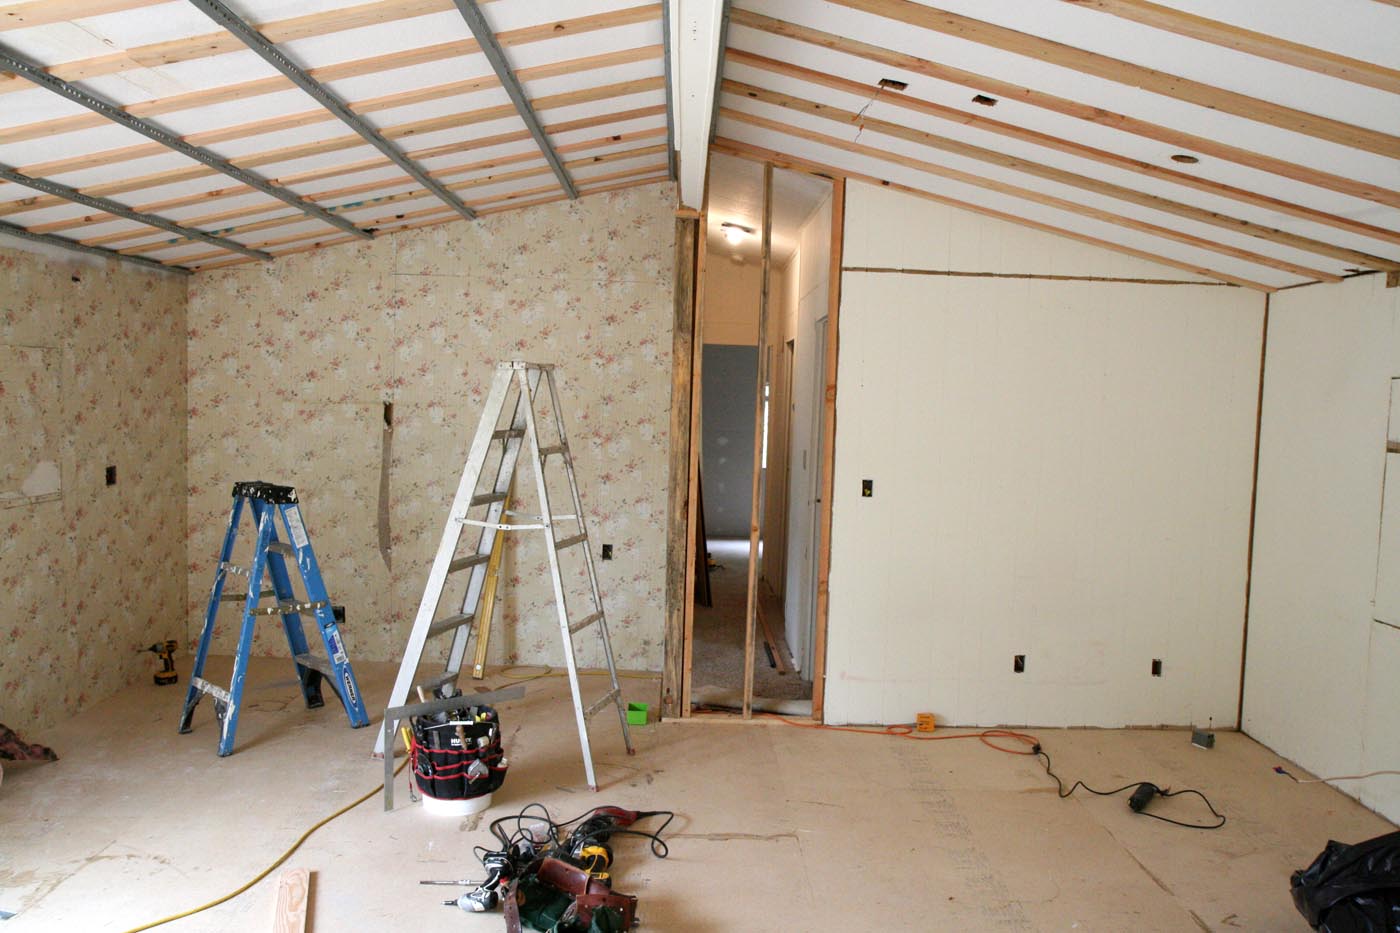
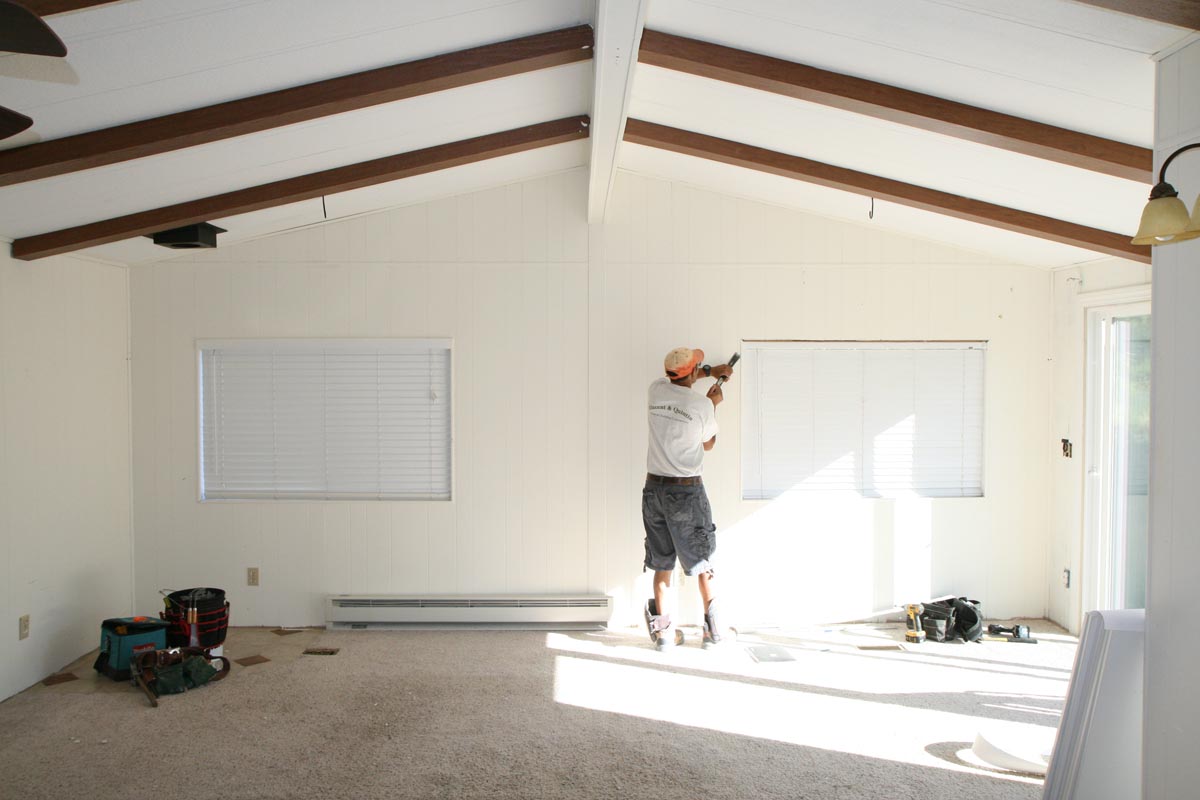 Any good construction project begins with demolition. Trim, floor coverings, shelves, phony exposed ceiling timbers (vinyl!) all went into the dump pile. This view shows the north end of the room.
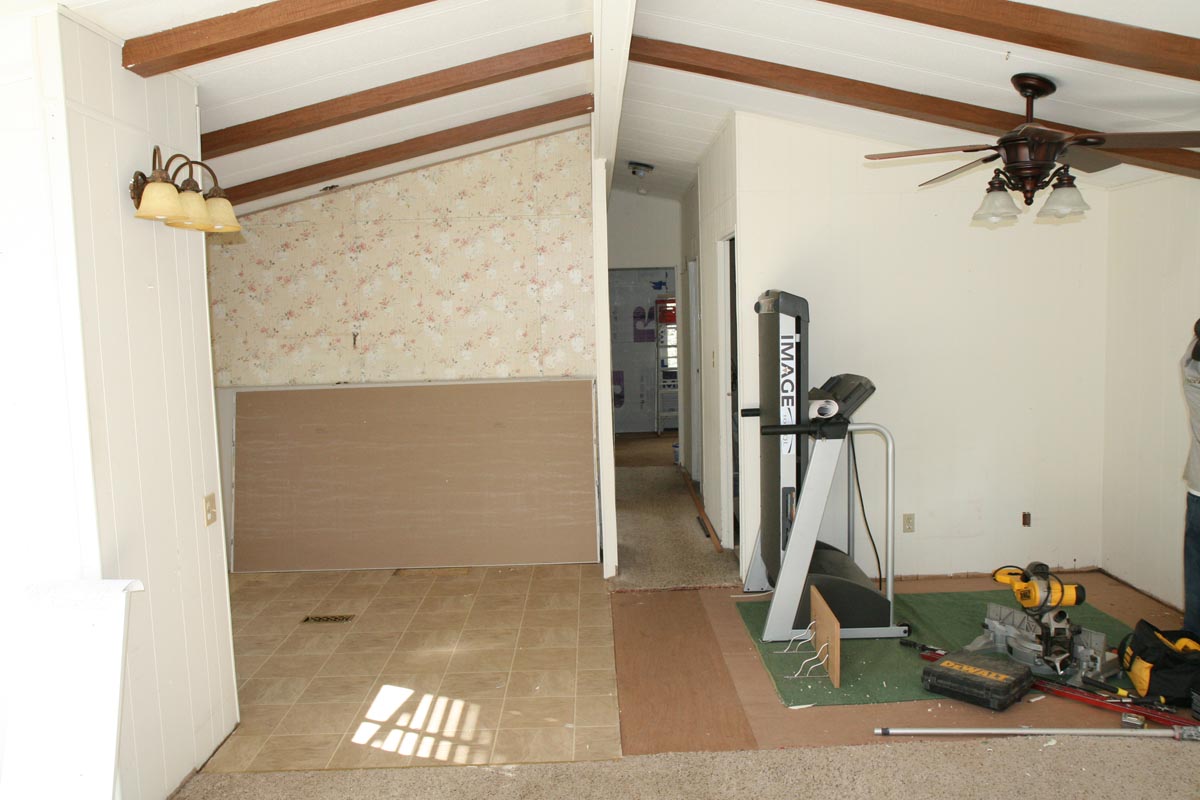 This view shows the south end of the room, with the hallway into the rest of the building.
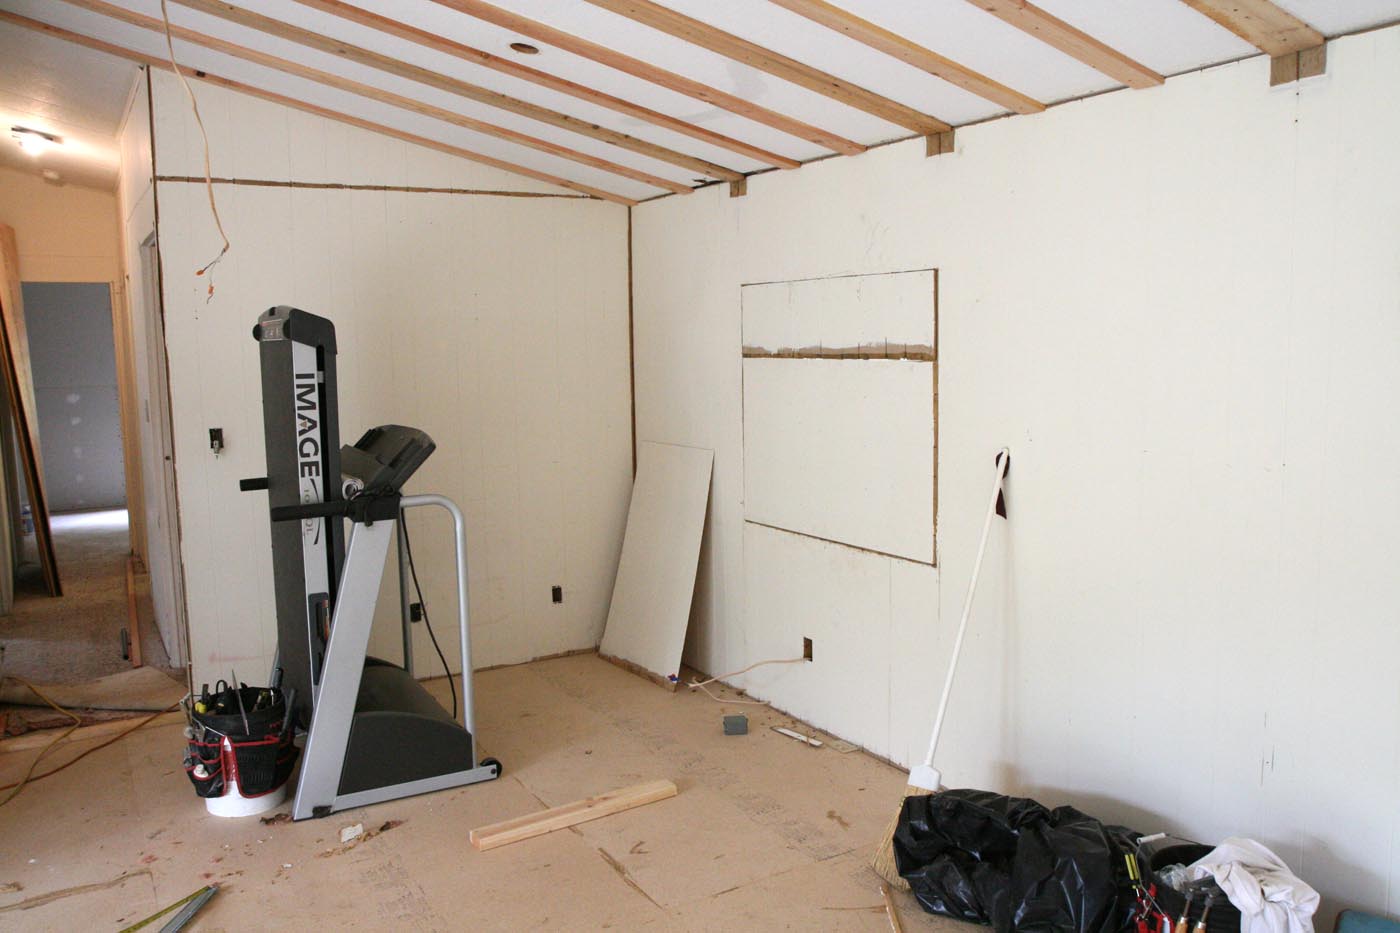
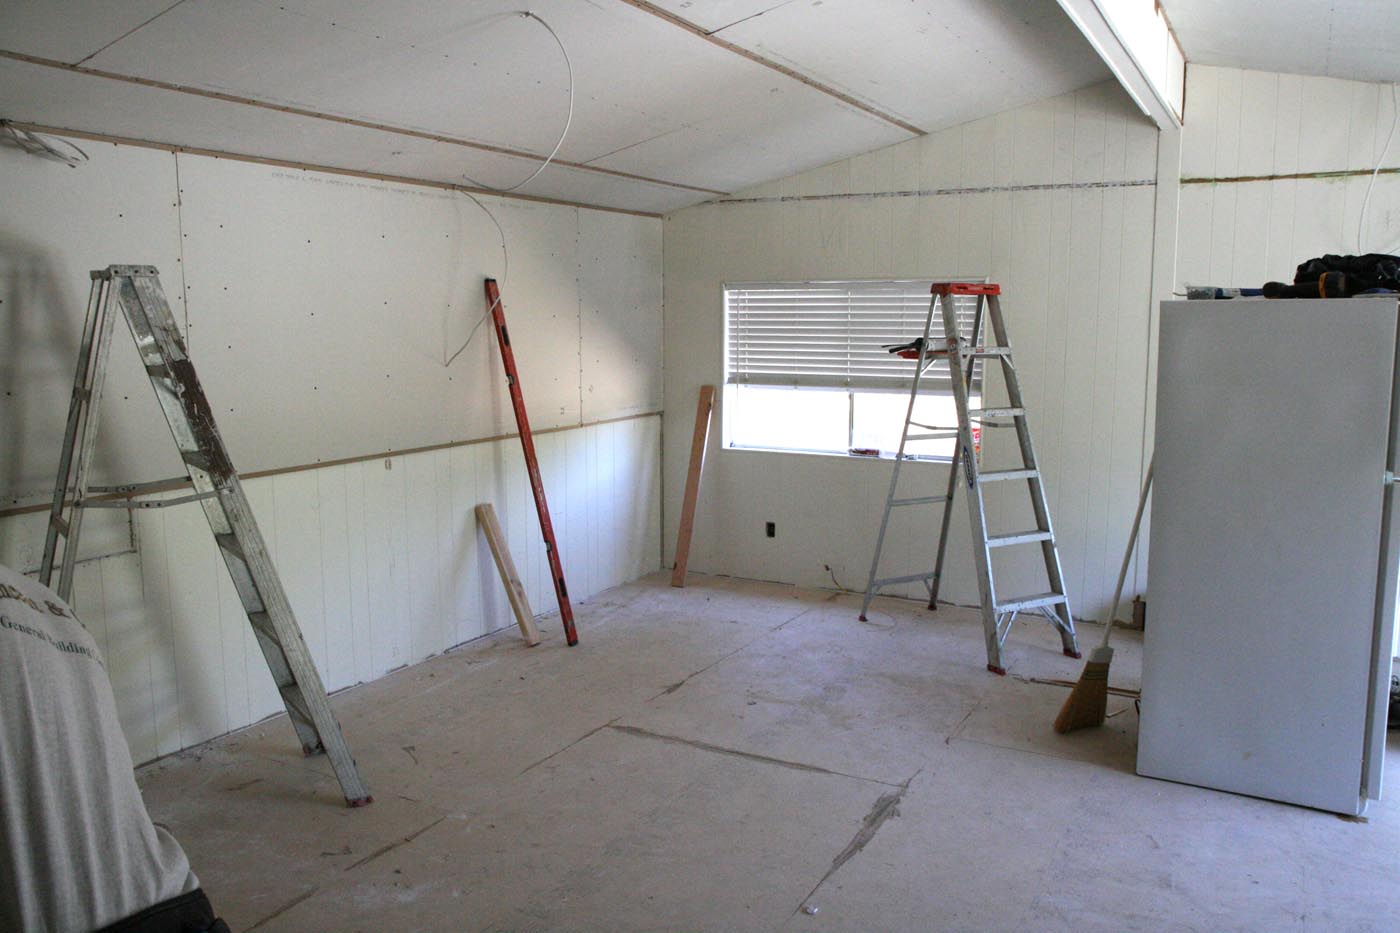
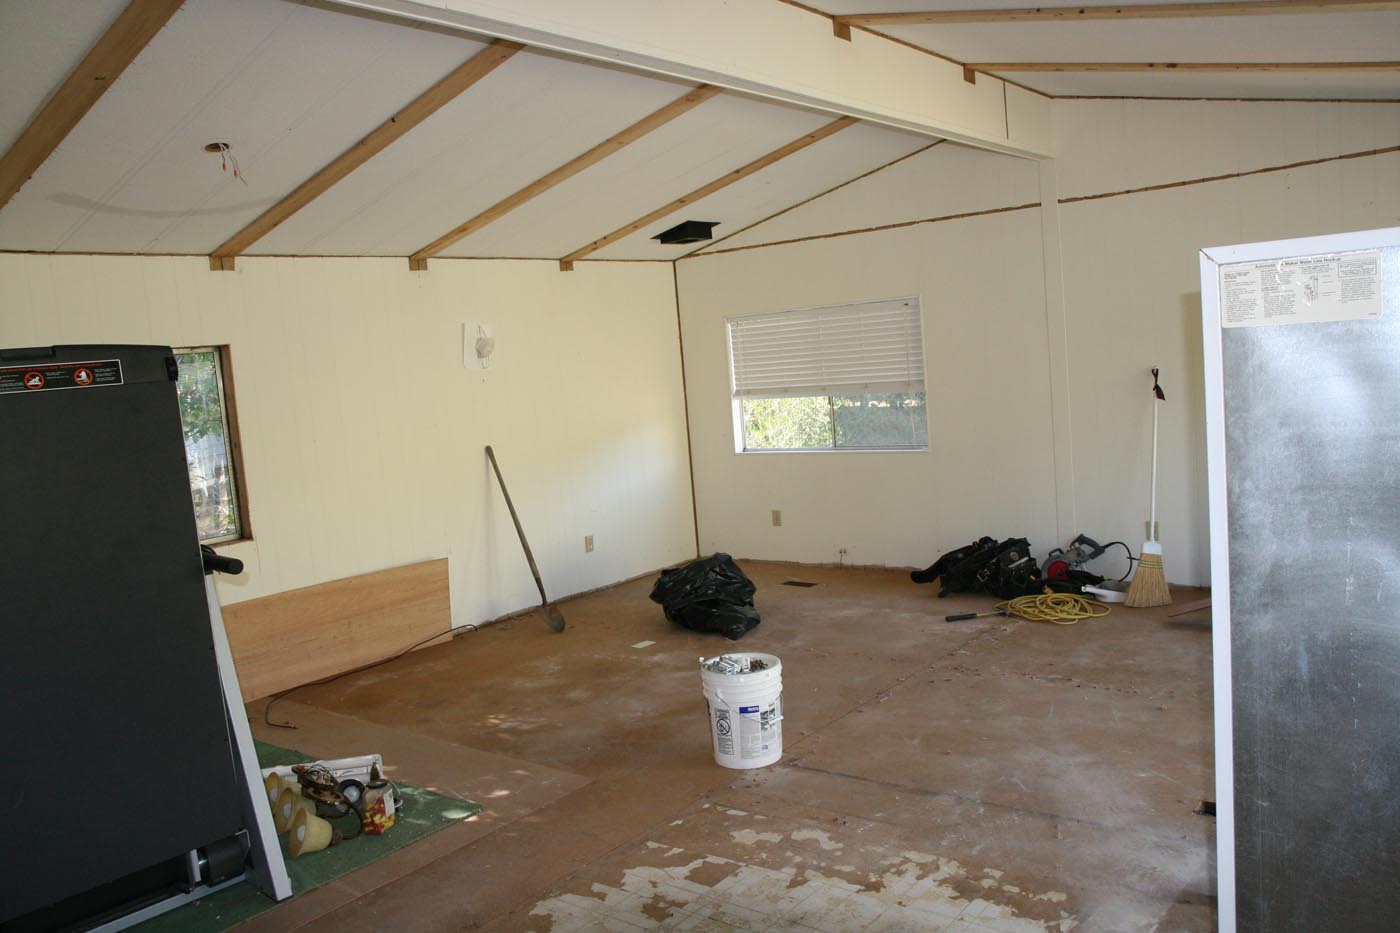 By the end of the day, the room was pretty well gutted.
Day 2
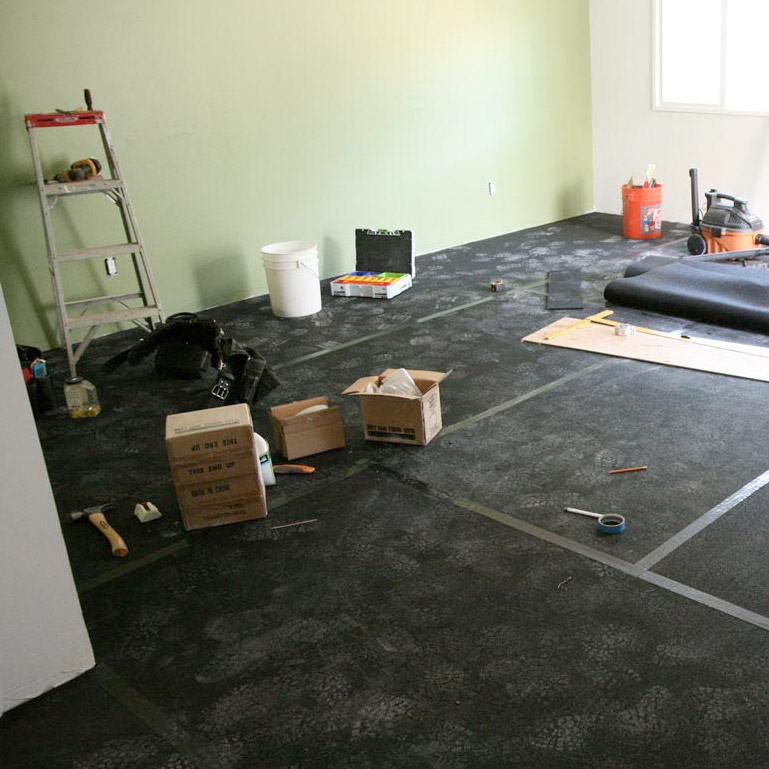
 The second day was all about the floor. The crew put in a layer of fiberboard with Green Glue.
Green Glue seems like a miracle of modern soundproofing. It acts as a damping material, and is said to have excellent low-frequency performance.
Day 3
 The removed windows were framed in and paneled over. I don’t love the loss of natural light, but it was more important to reduce sound transmission. And I won’t miss the standing waves caused by large sheets of glass within the room — walls can be treated, but windows, not so much.
(In my last room, I had a 2'x2' piece of 4'' Auralex Studiofoam mounted in a light wooden frame with a hook on the back, to hang in the middle of a giant sliding glass door via suction-cup mount. It worked well when it stayed in place, but would occasionally crash to the floor in the middle of a take.)
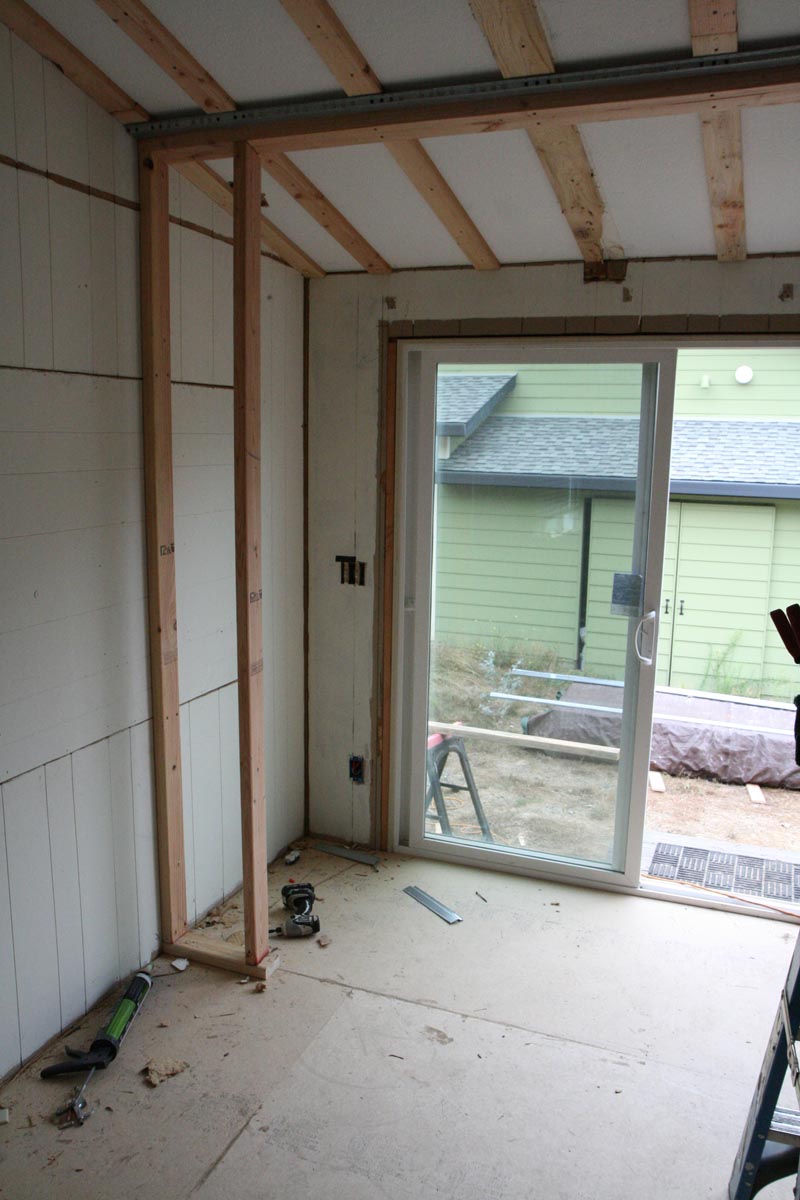 This image shows the beginnings of the framing for the new entryway, and the RC going onto the ceiling.
Day 4
 More RC on the ceiling.
 The hallway exit was too narrow for a door, so we decided to extend the wall over this area and cut a doorway around the corner to the left.
The various holes in the existing walls and ceiling all get plugged before the QuietRock goes up.
Day 5
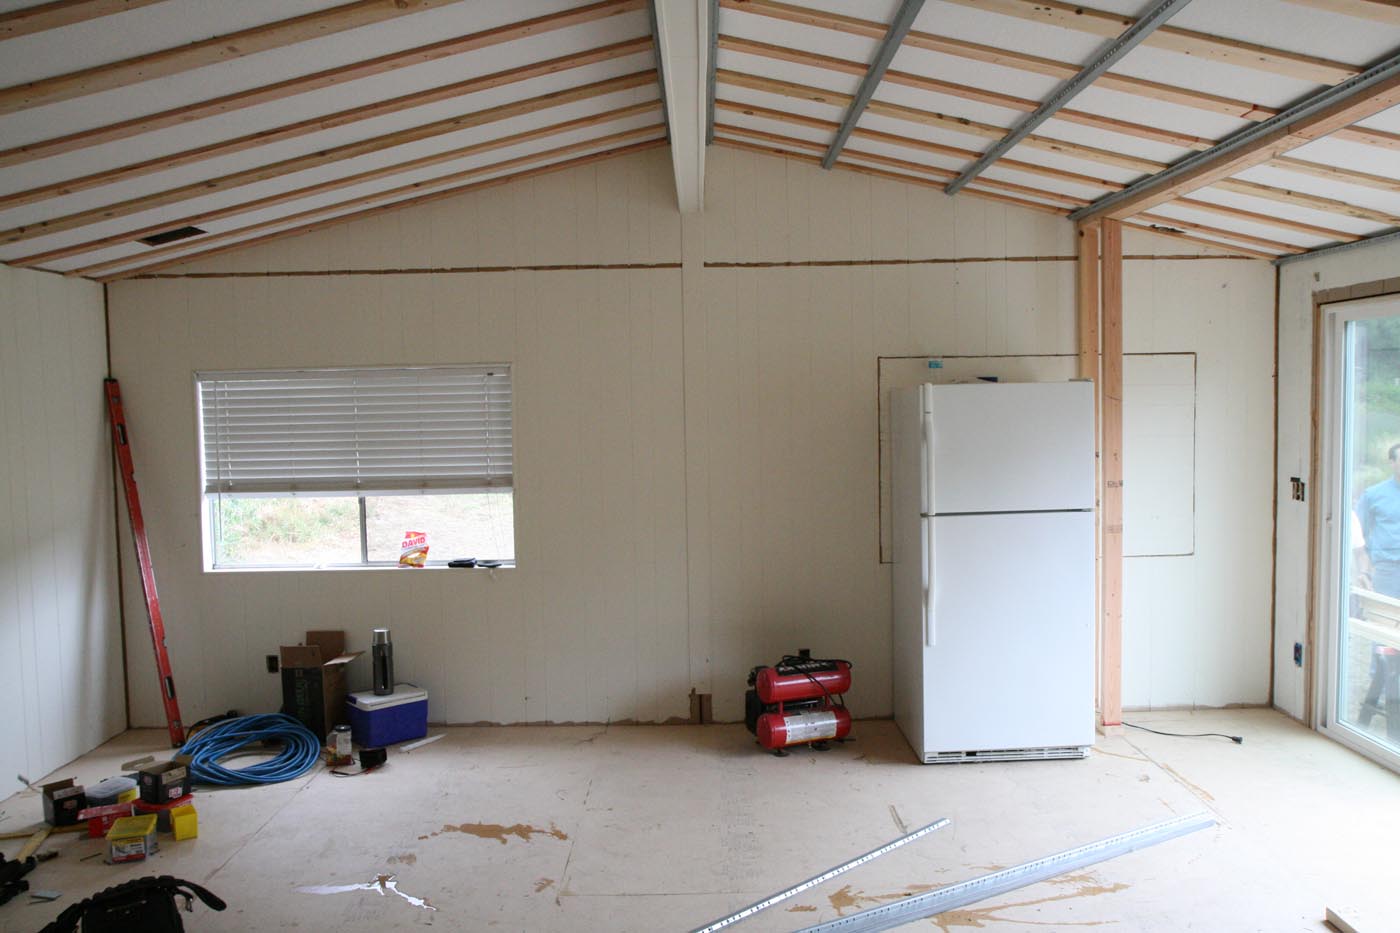
 By the end of the first week, the ceiling was finished. Three of four windows had been framed in, plugged, sealed, and covered with QuietRock. Fresh Romex had been pulled for wall sconces and overhead lights.
This was projected to be a 10-day build, but will take at least 12, possibly 14. Still to come: taping the QuietRock, installing new windows and entryway, framing and building a second insulated wall inside the room, and additional floor treatment. Click for Part II.
Related posts:

Posted in Acoustics, Studios | 4 Comments »
James Seabrook
September 18th, 2013 at 11:47 am
Great to see the new shop come together. I’ve been where you are having built mine from the ground up. Hope the rest of it is going just as smoothly.
John McCortney
September 18th, 2013 at 5:49 pm
Congratulations on getting to build a new studio! I’ve built 4 over the past 30 years so I know the thrill of looking at the empty space and anticipating the ways you’ll use the new studio. I know it’s a lot of work and there’s no hope of staying even near the budget but the results will be worth it. You own this property, right? Talk to your accountant about possible tax deductions but be aware that any deductions you take now may be offset by capital gains when you sell.
I’m curious to see how you’re going to do the control room. Are you going to use the space marked “other rooms” and perhaps extend in to the larger space? This could be an opportunity to eliminate the front to back horizontal parallel. A couple of big gobos could help break up the side to side parallel. The peaked ceiling should reduce the vertical resonance so if you can tame the horizontal resonances then this room should work well for you.
Good luck!
bern
October 2nd, 2013 at 8:14 am
That was fun to follow. Currently, we’re underground and can blast at 3:00am and no one hears us. Let us know how it sounds both inside and outside, especially the control room.
charles buzbee
October 2nd, 2013 at 12:23 pm
I’ve worked in the constructionm industry for 41 years , most especially the drywall trades . The best soundproofing I’ve seen to date was by using a combination, as you did, but of mostly other materials . Resilient channel does work well and I used that, too . As to mass, I used layers of different sizes of drywall (1/2 inch over 3/8 or 1/4 inch over 5/8). The different sizes also have different densities causing the vibes to change speed thereby disrupting the wave . Soundboard filler inside the wall is recommended . The results are outstanding though I’m not sure about budget soundproofing .