
How It’s Made – The Making of an AEA R44 Ribbon Microphone
Thursday, October 25th, 2012 | by matthew mcglynn
Remember the episode of Factory Made where they show the making of a Royer R-121 ribbon microphone? Luckily for microphone enthusiasts, AEA got in the game. Watch the making of the AEA R44 ribbon microphone:
(If you liked that, you’ll also like The Making of a U87 (yes, another How It’s Made video), as well as the photos from my tour of the Neumann/Sennheiser factory.)
Following is transcript of this How It’s Made episode:
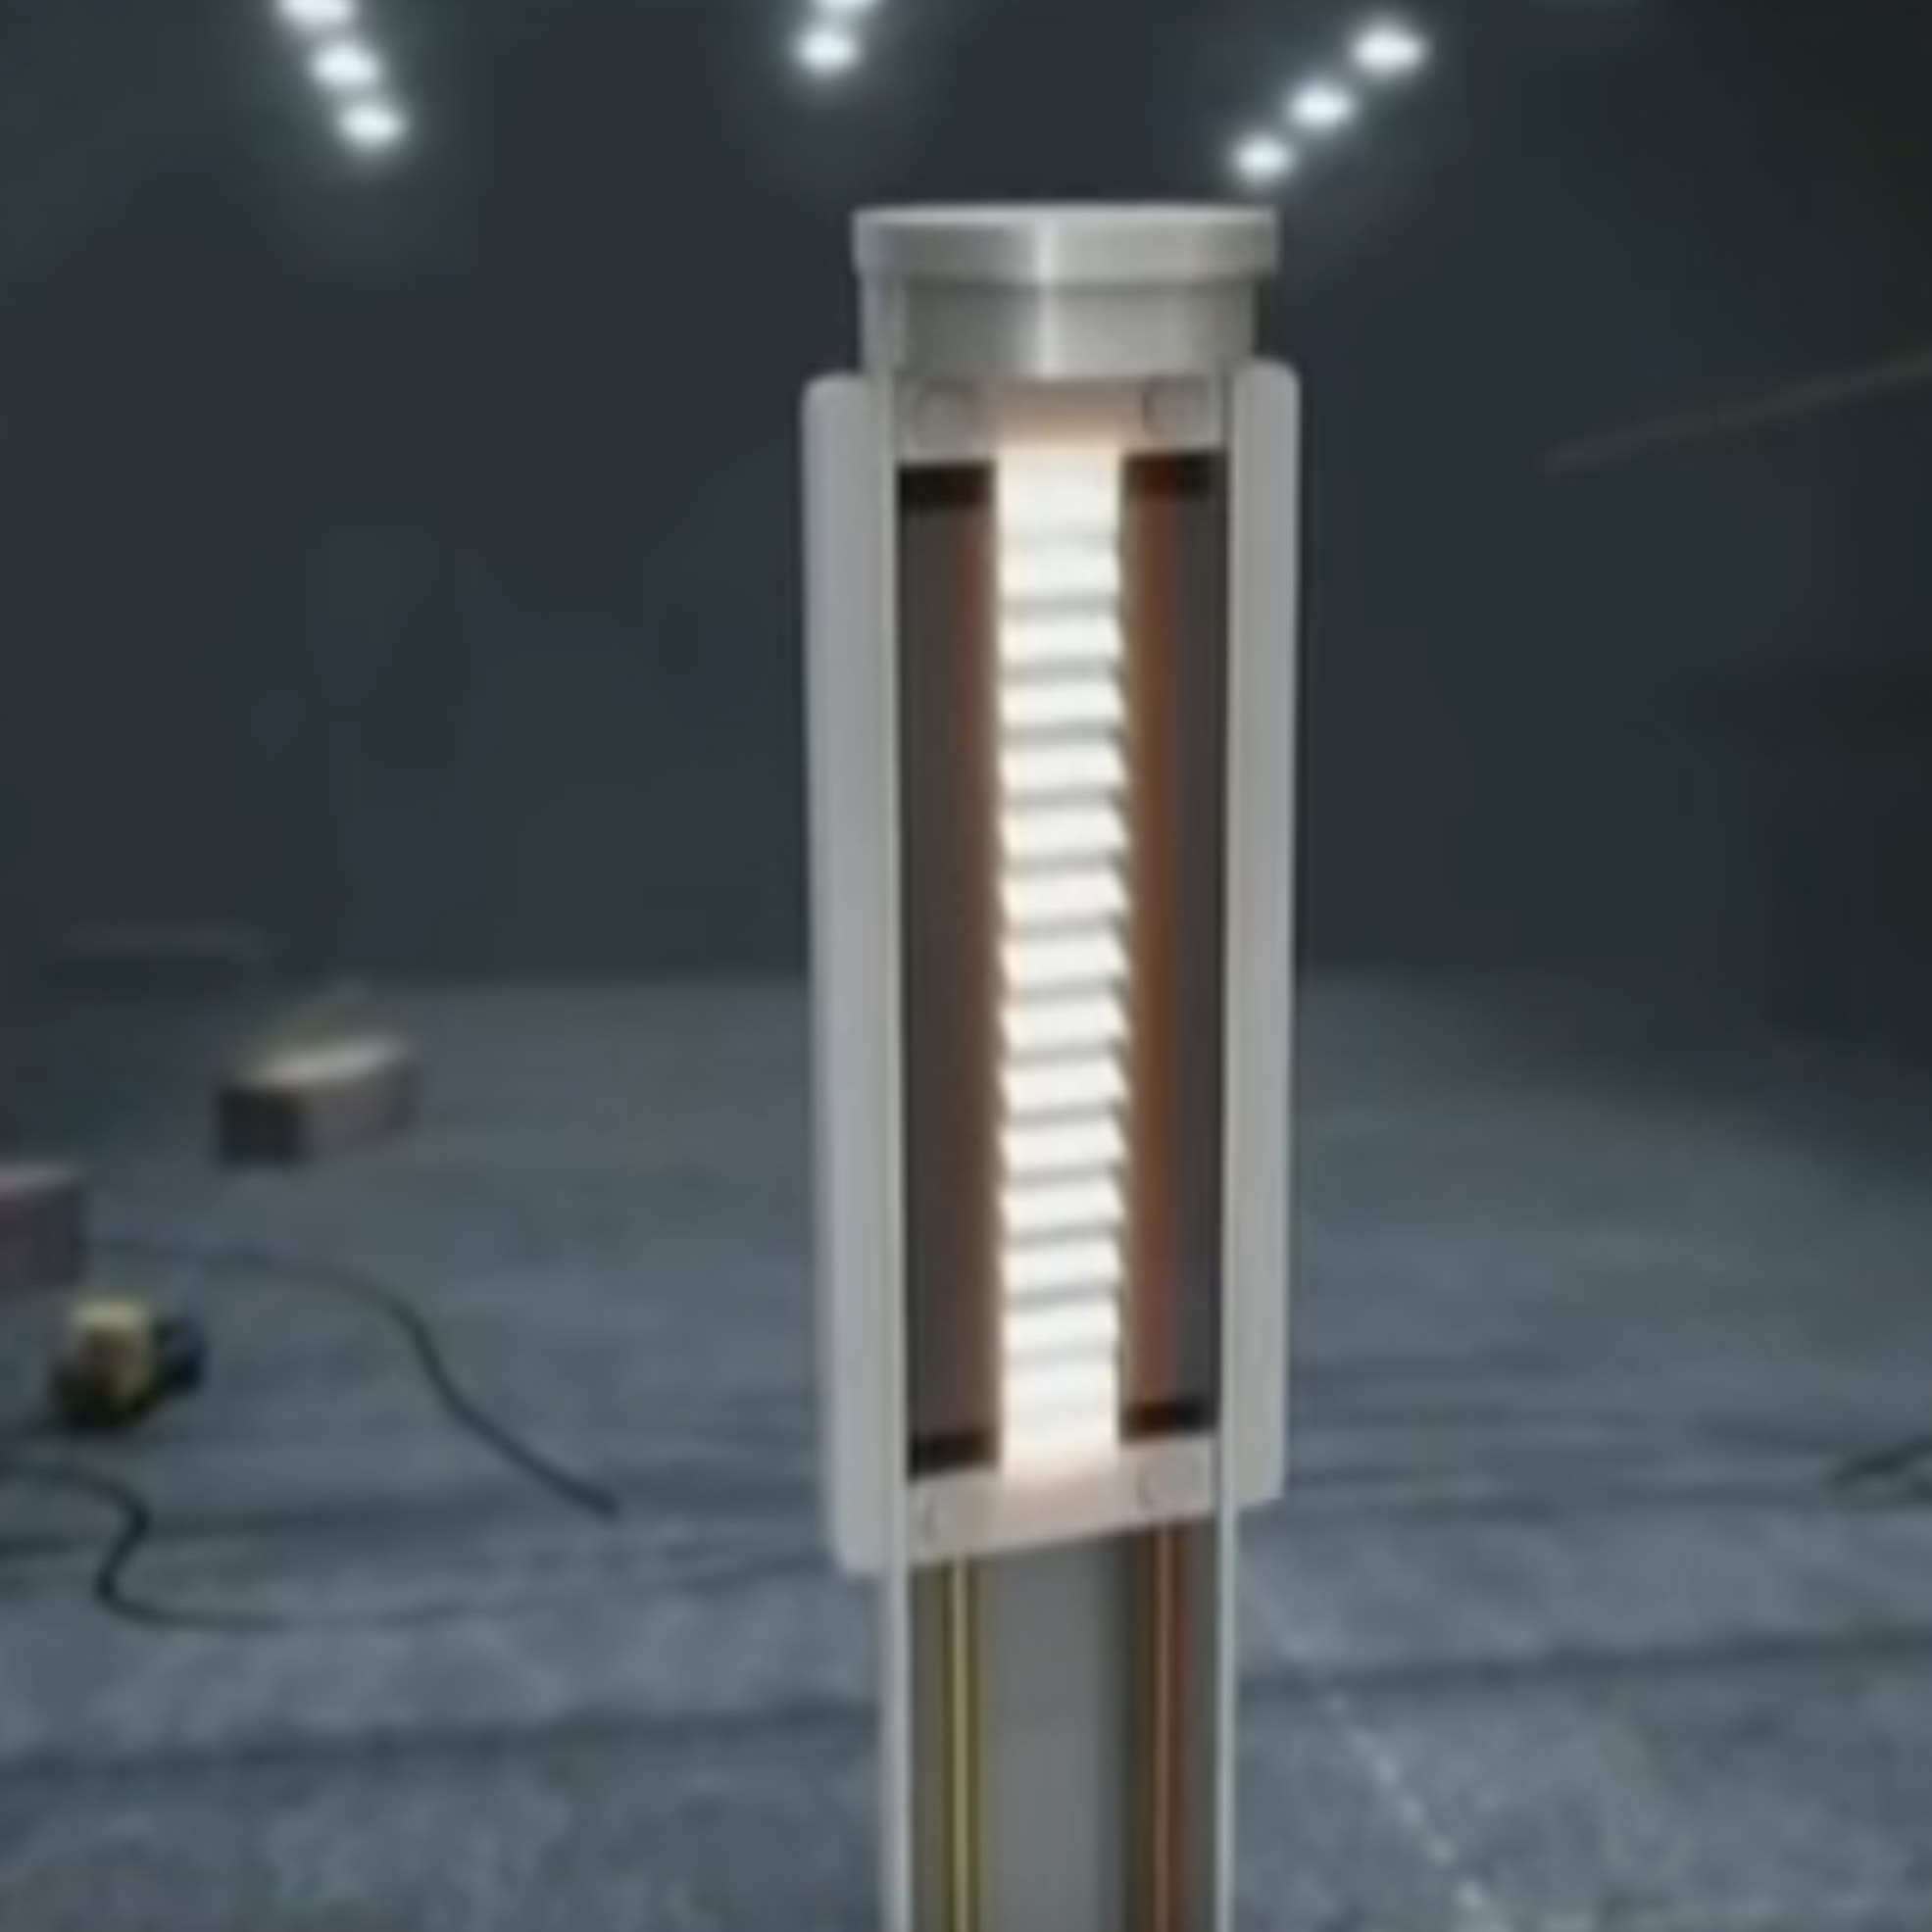
The ribbon microphone was invented in the 1920s, and first commercially produced in 1931. It’s called a “ribbon microphone” because inside, a thin aluminum ribbon positioned between two magnets converts soundwaves into electrical signals.
Introduced in 1931, ribbon microphones revolutionized the broadcasting and audio recording industries with unprecedented sound quality. This company manufactures a modern version of the RCA 44, one of the first ribbon microphones.
This manufacturer [Wes Dooley’s AEA, or Audio Engineering Associates] handcrafts the microphone, starting with the frame, which holds all the components. After cutting a flat piece of brass, the machinist makes two bends with a press, then drills threaded holes for the fasteners, which will connect the frame to the rest of the microphone. He puts the bar into another press, which bends the two ends upward to form a “U” shape. The frame goes off to another department to be chrome plated and polished.
Meanwhile, another machinist takes a sheet of perforated brass, to begin forming the microphone’s signature grille. He secures it to a die with two mounting plates. The die is the shape of one half of the multi-sided grille. He mounts it onto a fly press, a press operated by rotating a heavy counterweight. As that counterweight spins, the die descends into a forming mold that’s also in the shape of half of the grille. A high-speed automated cutter trims the perimeter to make a neat, even edge all the way around. Then the grille halves are sent off to be chrome-plated and polished.
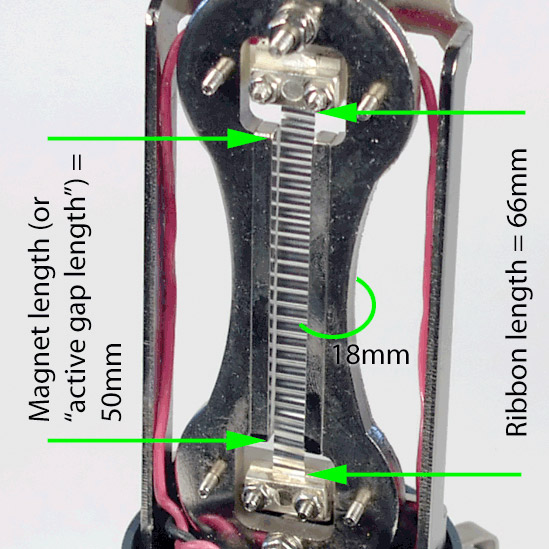
Next, a technician assembles the motor, the heart of the microphone. First, he snaps on two strong magnets. The gap between them is where he’ll later insert the key component, the thin aluminum ribbon which gives this type of microphone its name.
After aligning the top of the motor with the bottom, he attaches the frame, which has since acquired a custom-made transformer, electrical terminals, and side brackets.
Now for that all-important ribbon. A technician crafts it from a hair-thin sheet of pure aluminum. It is so fragile, he has to handle it with tweezers. First, using the edge of a razor blade, he glues down the edges to a thin sheet of paper set on a glass cutting surface. Then he places a second sheet of paper on top, and with a razor blade, slices lengthwise, dividing it into four ribbons, each 4.5mm wide.
When soundwaves pass through the microphone, they cause minute differences in air pressure between the front and back of the ribbon inside. This causes the ribbon to move in response to the peaks and valleys of the soundwave.
The technician corrugates the ribbon so that it responds to these minute air pressure changes more accurately. He removes the protective papers and installs the ribbon in the motor between the two magnets. In this position, the moving ribbon is a conductor in a magnetic field, generating a tiny current — an electrical replica of the soundwave that can be recorded, amplified, or broadcasted.
A technician tests the ribbon’s tension, to ensure it is neither too tight, nor too loose. He hooks up the terminals to an audio signal generator, and measures at what frequency the ribbon resonates. If necessary, he tunes the ribbon by adjusting its tension.
He installs what’s called a “puff shield.” It prevents puffs of air from stretching or tearing the delicate ribbon.
A two-part metal housing will encase the lower part of the motor. However, before assembling it, he glues on an embossed medallion bearing the company’s logo.
Then he takes the motor, which by now has acquired an output cable, stands it upside down, and assembles the housing around it. Then he turns it right-side up, and assembles the two halves of the grille. A sleek-looking chrome-plated band hides the joint. He fastens the microphone to a U-shaped stand called a yoke. On each side, there’s a thumb nut, which you loosen to tilt the mic, then tighten to lock the position.
Although newer technologies have emerged since, the classic ribbon microphone still remains a favorite of sound engineers around the world.
Related posts:

Posted in Microphones, Video | 6 Comments »
Paul
October 25th, 2012 at 7:55 am
It’s not surprising to see that old technology still finds a lot of application today. What surprises me is the simplicity and the elegance of the ribbon microphone design. Seriously, that’s so simple, so direct.
Engineering beauty!
Eric Beam
October 25th, 2012 at 9:40 am
Great to see. Wish they would leave out the chrome, a raw brass housing would be really nice.
Danny
October 26th, 2012 at 1:57 pm
Can you publish a direct link to the video? I’d like to share it directly. Thanks!
Got Mics
October 31st, 2012 at 12:10 pm
That mic is all magnets! A useful weapon come the robo-zombie apocalypse?
bern
October 31st, 2012 at 5:16 pm
where’s the video? no link.
Julian
November 6th, 2012 at 1:59 pm
Hey guys,
Here’s a link to the US version of the video on YouTube: http://www.youtube.com/watch?v=SHkOkqnJjy0